chicken escalope – Easy and varied recipes
Table of Contents
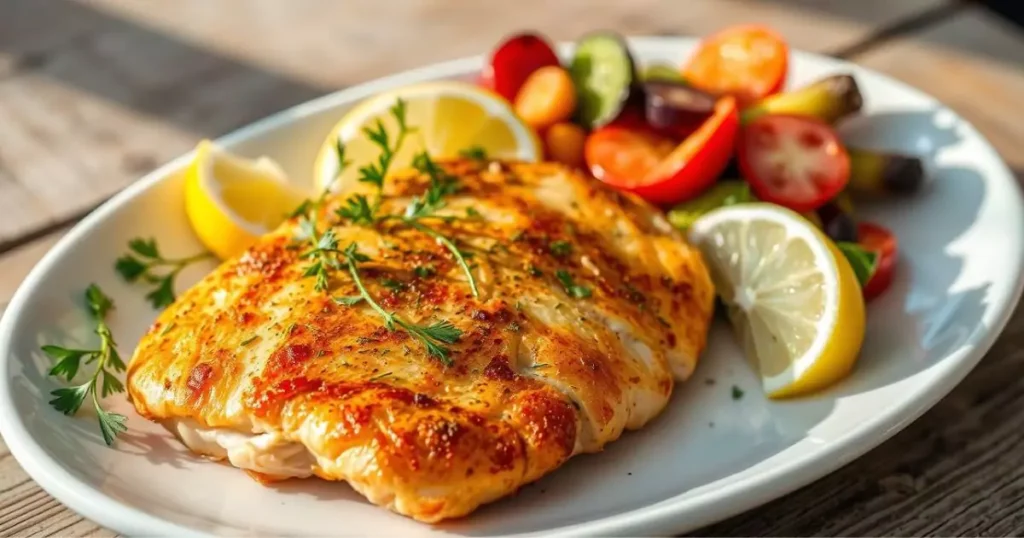
When 6 pm hits and the family gathers, the smell of chicken escalope fills the room. This dish is a staple in my home, bringing back memories of the Middle East. The chicken, wrapped in a crunchy breading, is a mix of flavors that always hits the spot.
In this guide, we’ll look into the chicken escalope’s origins and key ingredients. We’ll also learn how to make it perfectly, a favorite among food lovers everywhere. Whether you’re an experienced cook or just starting, you’ll find tips to make it just like a restaurant.
What is Chicken Escalope: Origins and Definition
The term “escalope” comes from French cuisine, where it means thinly sliced meat, like veal or chicken. This dish is loved worldwide, with many different versions. It started in France and has spread to the Middle East and beyond.
French Culinary Heritage
In French cooking, an escalope is a thin, flat piece of meat, often breaded and fried. The chicken cutlet, or chicken milanese, is a famous version. It’s a tender chicken breast, pounded thin, coated in breading, and fried until golden.
Middle Eastern Adaptation
In the Middle East, the dish became a staple, often served with chicken schnitzel and french fries. The Mediterranean’s influence added spices and herbs to the breading. Local cheeses were also added, making it unique.
Modern Interpretations
Recently, the chicken escalope has seen a culinary makeover. Chefs and home cooks are trying new flavors and cooking methods. Now, it can be baked, air-fried, or topped with creative ingredients. This makes it a versatile dish for many tastes and diets.
Essential Ingredients for Authentic Chicken Escalope
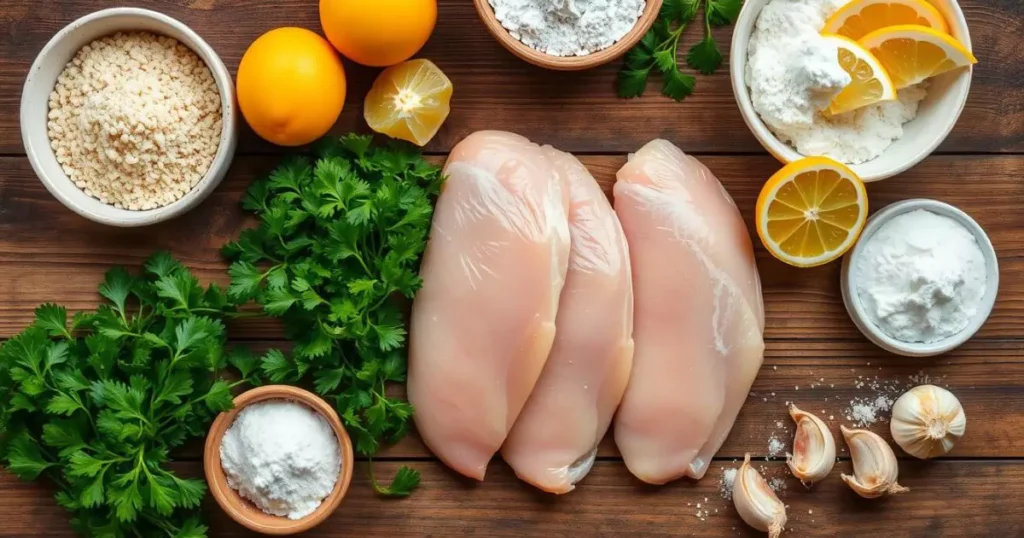
Making the perfect chicken escalope starts with the right ingredients. You’ll need a few key things for that golden, panko-crusted look. First, choose fresh, high-quality chicken breasts. Cut them in half lengthwise for even cooking and the right texture.
For breading, use plain breadcrumbs and a mix of salt, pepper, paprika, garlic powder, onion powder, thyme, and oregano. These spices add a great flavor. Also, have flour for dredging and eggs mixed with water for the egg wash. These are key steps in the breading process.
This recipe makes preparation easy by using the same seasoning for marinating and breading. With these ingredients, you’re ready to make a delicious chicken escalope. It’s sure to impress your family and friends.
| Ingredient | Quantity |
|---|---|
| Chicken Breasts | 4 pieces |
| Flour | 1 1/2 cups |
| Black Pepper | 1/4 tsp |
| Salt | 1/4 tsp |
| Cayenne Pepper | 1/4 tsp |
| Eggs | 3 large |
| Breadcrumbs | 2 cups |
| Butter | 1/4 cup |
| Neutral Oil | 1/4 cup |
For extra flavor, make a tasty herb butter. Mix 1/4 cup of softened butter with 2 minced garlic cloves, 1/2 tsp of red pepper flakes, 2 tsp of Italian seasoning, 1/4 tsp of black pepper, and 1/4 tsp of salt.

Preparing the Perfect Chicken Cutlets
Making the perfect chicken parmigiana or thin chicken breast starts with how you prepare it. The secret to delicious chicken cutlets is in your slicing and pounding. Also, keeping the right thickness is crucial. Follow these tips to get restaurant-quality results every time.
Slicing Techniques
Start by cutting your chicken breasts in half lengthwise. This makes even, thin cutlets. To get a uniform thickness, place the chicken between plastic wrap or parchment paper. Then, gently pound it with a meat mallet or rolling pin until it’s about 1/2 inch thick.
Pounding Methods
- Place the chicken between two sheets of plastic wrap or parchment paper.
- Using a meat mallet or rolling pin, gently pound the chicken until it’s an even 1/2-inch thickness.
- Avoid over-pounding, as this can lead to the chicken becoming tough and dry.
Thickness Guidelines
The perfect thickness for chicken parmigiana and thin chicken breast is about 1/2 inch. This ensures the chicken cooks quickly and evenly. It keeps the chicken moist and tender. If it’s thicker, it might not cook right and could be dry and rubbery.
| Chicken Thickness | Cooking Time | Texture |
|---|---|---|
| 1/2 inch | 6-8 minutes per side | Juicy and tender |
| 3/4 inch | 8-10 minutes per side | Slightly drier |
| 1 inch | 10-12 minutes per side | Prone to dryness |
Mastering slicing, pounding, and achieving the right thickness is key. You’ll be on your way to making delicious chicken parmigiana and thin chicken breast dishes. These will impress your guests and satisfy your cravings.
The Art of Seasoning and Marination
Improving your chicken piccata or seasoned chicken dish begins with spices and marinades. The right mix of flavors is key to a delicious cutlet.
Start with a versatile spice mix. Mix paprika, salt, black pepper, garlic powder, onion powder, thyme, and oregano. Coat your chicken breasts with half of this blend for 15-30 minutes. Then, mix the rest with breadcrumbs for extra flavor.
Adjust the spices to match your taste. Try adding cayenne pepper for a bit of heat or Italian seasoning for herbs. The goal is to balance savory, aromatic, and spicy flavors that enhance the chicken’s taste.
| Spice | Quantity | Purpose |
|---|---|---|
| Paprika | 1 tsp | Adds depth and color |
| Salt | 1 tsp | Enhances overall flavor |
| Black Pepper | 1/2 tsp | Provides a subtle heat |
| Garlic Powder | 1 tsp | Imbues a savory aroma |
| Onion Powder | 1 tsp | Adds a warm, caramelized note |
| Thyme | 1/2 tsp | Lends an earthy, herbaceous flavor |
| Oregano | 1/2 tsp | Contributes to the Mediterranean flair |
Seasoning your chicken piccata or seasoned chicken in two steps makes it flavorful. From inside to outside, your chicken will be delicious. Learning to season and marinate is the secret to amazing chicken cutlets.
Mastering the Three-Step Breading Process
To get the perfect crispy outside on your breaded chicken breast or chicken franchese, you need to master the three-step breading process. This technique is key to making chicken escalope irresistibly crunchy.
Flour Dredging Tips
Start by setting up your breading station. You’ll need seasoned all-purpose flour, beaten eggs mixed with water, and panko or homemade breadcrumbs. Dredge the chicken cutlets in the flour, shaking off any extra before moving on.
Egg Wash Secrets
Next, dip the floured chicken in the egg wash for an even coat. The egg helps the breadcrumbs stick to the meat. Make sure to let any extra egg drip off before the next step.

Breadcrumb Coating Techniques
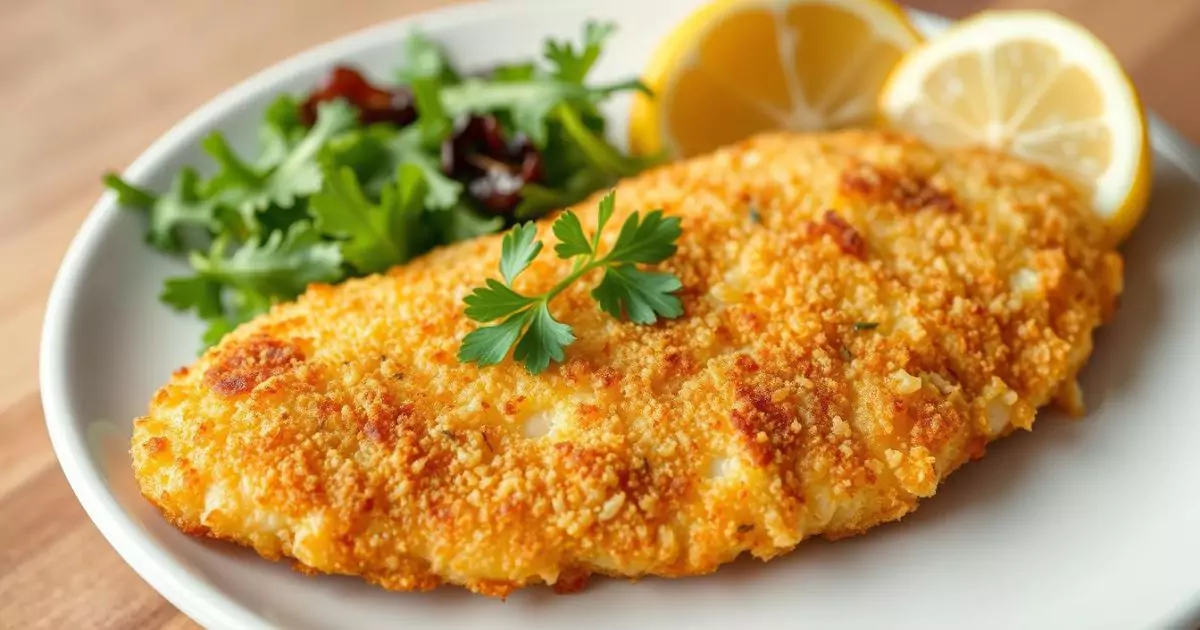
Finally, place the chicken in the breadcrumb dish and press the crumbs onto the surface. This creates a crisp, golden-brown crust. Shake off any loose crumbs to avoid clumping during frying. This three-step process is the secret to a perfect chicken escalope texture every time.
“The key to a truly magnificent chicken escalope lies in the meticulous execution of the breading process. Each step plays a crucial role in crafting that irresistible crunch.”
| Breading Step | Purpose | Tips |
|---|---|---|
| Flour Dredging | Creates a base for the egg wash to adhere to | Use seasoned all-purpose flour, shake off excess |
| Egg Wash | Helps the breadcrumbs stick to the chicken | Mix eggs with a splash of water, let excess drip off |
| Breadcrumb Coating | Provides the signature crispy texture | Use panko or homemade breadcrumbs, press firmly |
Cooking Methods and Temperature Control
Discover the flavors of fried chicken or try air-fried chicken for a healthier option. Learning how to cook is crucial for making your chicken escalope a hit.
Frying to Perfection
Heat vegetable oil in a big, deep skillet over medium-high heat. Check the oil by dipping a breaded chicken edge – it should sizzle right away. Fry the chicken escalope for 3-4 minutes on each side, until it’s golden brown and cooked.
To keep the oil’s temperature steady, don’t overcrowd the pan. Fry in batches for a crunchier crust if needed.
The Air Fryer Alternative
For a lighter choice, air fry your chicken escalope at 400°F (200°C) for 10-12 minutes, flipping halfway. This method gives a crispy texture without extra oil, perfect for those watching their diet.
| Cooking Method | Temperature | Time | Result |
|---|---|---|---|
| Deep Frying | 350°F (175°C) | 3-4 minutes per side | Golden brown, crispy crust |
| Air Frying | 400°F (200°C) | 10-12 minutes, flipping halfway | Crisp exterior, juicy interior |
Whether frying or air frying, keeping the right temperature is key. This ensures your chicken escalope is perfectly cooked. It should have a crispy outside and a juicy, flavorful inside.
“The secret to the perfect chicken escalope lies in the temperature control and the patience to let it sizzle to golden brown perfection.”
Traditional and Modern Side Dish Pairings
Choosing the right side dishes can make your chicken escalope meal even better. Traditionally, crispy french fries are a favorite. But, there are many other great options to try.
Classic French Fries
French fries are a timeless favorite with chicken escalope. To get them just right, double-fry them. This makes them crispy on the outside and soft inside. Serve them hot with a bit of sea salt for the best taste.
Fresh Salad Options
A light salad can balance the chicken’s richness. A simple mixed green salad with a tangy dressing is perfect. For something more, try a Brussels sprouts salad or an arugula salad with Parmesan.
International Accompaniments
Try something new with international side dishes. For a Middle Eastern flavor, pair the chicken with an Arabic chopped salad or a lemony cabbage slaw. You could also go for rice dishes or pasta salads to match different tastes.
There are countless ways to pair side dishes with chicken escalope. Whether you stick with the classics or explore new flavors, the goal is to find sides that enhance the meal. This way, you get a balanced and enjoyable dining experience.
Storage and Reheating Guidelines
Leftovers are a blessing, but we must keep them fresh. Proper storage and reheating ensure your chicken escalopes stay delicious. Enjoy your favorite dish again and again.
Store cooked chicken escalopes in the fridge for up to 3 days. To reheat, place them in a preheated oven at 400°F (200°C) for 10-12 minutes. Or, use an air fryer at 375°F (190°C) for 4-5 minutes to keep them crunchy.
Freeze chicken escalopes for up to 3 months. First, flash freeze them individually. Then, stack them in a freezer bag. Thaw overnight in the fridge before reheating or cooking.
| Storage Method | Refrigerator | Freezer |
|---|---|---|
| Cooked Chicken Escalopes | 3-4 days | 2-6 months |
| Uncooked Breaded Chicken Escalopes | 1-2 days | 2-6 months |
Proper storage and reheating are crucial for enjoying your leftovers and frozen chicken. With a bit of care, you can relish the taste of your homemade chicken escalopes for a long time.
Tips for Achieving Restaurant-Quality Results
Want that crispy, golden-brown chicken escalope like the pros? You can get it in your kitchen with a few tips. It’s all about the details, like the right oil temperature and perfect breading.
Common Mistakes to Avoid
One big mistake is not heating the oil enough. This makes your chicken greasy and soggy. Another error is frying too much at once, which cools the oil down.
To fix this, fry in batches. Let the oil heat up again before adding more chicken.
Professional Chef Secrets
For extra crunch, try double-breading or use panko breadcrumbs. Don’t be shy with seasonings either. A bit of herbs or spices can elevate your dish. Remember, practice is key to perfecting your chicken cooking tips and achieving crispy chicken perfection.
FAQ
What is chicken escalope?
Chicken escalope is a dish that’s both crispy and juicy. It’s made with thin chicken that’s golden brown. It’s easy to make and perfect for a quick dinner.
What are the origins of chicken escalope?
Chicken escalope comes from French cuisine but is loved in the Middle East too. The name “escalope” means thin meat. It’s usually made with chicken or veal.
What are the key ingredients for making chicken escalope?
You’ll need chicken breasts, breadcrumbs, and spices like salt, pepper, and paprika. Don’t forget flour for dredging and eggs mixed with water for the egg wash.
How do you prepare the chicken cutlets for chicken escalope?
Slice the chicken breasts in half or pound them to make them thin. This ensures they cook evenly. Aim for a thickness of about half the original size.
How do you season and marinate the chicken for chicken escalope?
Mix your spices and use half to coat the chicken. Marinate for 15-30 minutes. Use the other half to flavor the breadcrumbs.
What is the three-step breading process for chicken escalope?
First, dredge the chicken in flour. Then, dip it in an egg wash. Finally, coat it with seasoned breadcrumbs. This makes the dish crispy.
How do you cook chicken escalope?
Fry the chicken in hot oil for 3-4 minutes on each side. Or, air fry at 400°F (200°C) for 10-12 minutes, flipping halfway.
What are some traditional and modern side dish pairings for chicken escalope?
Traditionally, serve it with french fries. But, it also goes well with mashed potatoes or salads. Try it with rice or pasta for a different twist.
How do you store and reheat leftover chicken escalope?
Store leftovers in the fridge for up to 3 days. Reheat in the oven at 400°F (200°C) for 10-12 minutes. Or, air fry at 375°F (190°C) for 4-5 minutes. You can freeze it for up to 3 months.
What are some tips for achieving restaurant-quality chicken escalope at home?
Make sure the oil is hot before frying. Don’t overcrowd the pan. Drain excess oil on paper towels. Double-breading or using panko breadcrumbs can add extra crunch.

